Loni LaCour
  • In Loving Memory
    • Obituary
    • Contact Loni's Family
  • Gallery
  • Suicide Prevention
    • American Foundation for Suicide Prevention
    • National Institute of Mental Health
    • Suicide Prevention Lifeline 1-800-273-8255 >
      • Chat
    • Centers for Disease Control and Prevention
  • Home
    • About Loni's Business
    • Products Loni Made
  • Loni's Blog
  • Loni in the Media

DIy planter box

7/6/2020

2 Comments

 
I had some extra cedar boards laying around so I figured I'd build a planter box, which is something I've been wanting to make for some time now. I really loved the way it turned out but it was a very complicated process seeing as I didn't have a plan to begin with. But, most of my good ideas come from plans that I haven't fully thought out. Anyways, here's the process!
Picture
Picture
Picture
First, I assembled the base of the planter with plywood. I cut x4 12"x14" inch boards, and used a brad nailer to to assemble the box (although I highly recommend using screws) Then I measured the bottom and cut a piece of plywood that fit perfectly as the base and nailed it in. Then I drilled holes on the bottom for drainage, and spray painted it black. I used Rustoleum Charcoal Chalk Paint. 

While waiting for the box to dry I decided I wanted to rip the 8" cedar boards I had into strips measuring 2" then cut each down x12 at 14.5" and x12 at 12". 6 panels for each side.

I used wood glue and a brad nailer to nail the panels onto the box. Nailing the 12" ones down first then the 14.5". This is where I should have done some more planning because the spacing between each panel was such a random measurement at like 7/16th an inch. It was very difficult to space each out so I kind of just eyeballed it, and it worked out fine for me. I did butt joints as well but for a cleaner look I recommend mitre joints. 

Once assembled I attached the swivel casters on the bottom four corners and sealed with a couple coats of polyurethane. On the inside be sure to used 2-3 coats because the plywood will not hold water well over time. This planter should be used primarily for indoor use because of the plywood. 

Picture
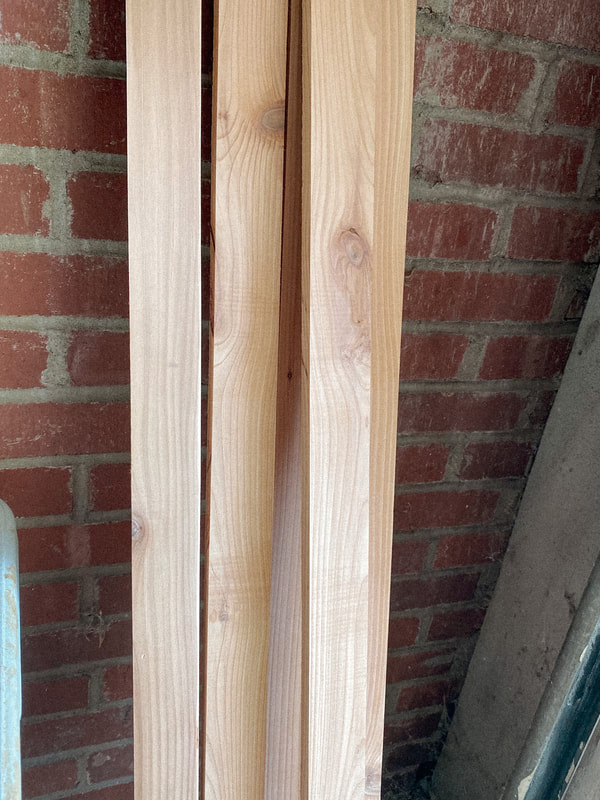
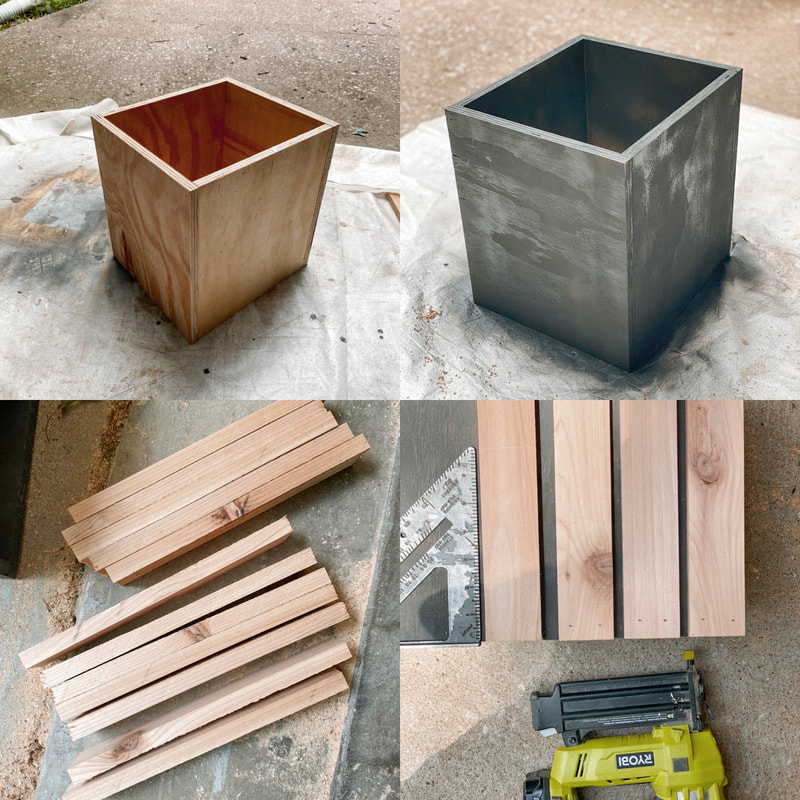
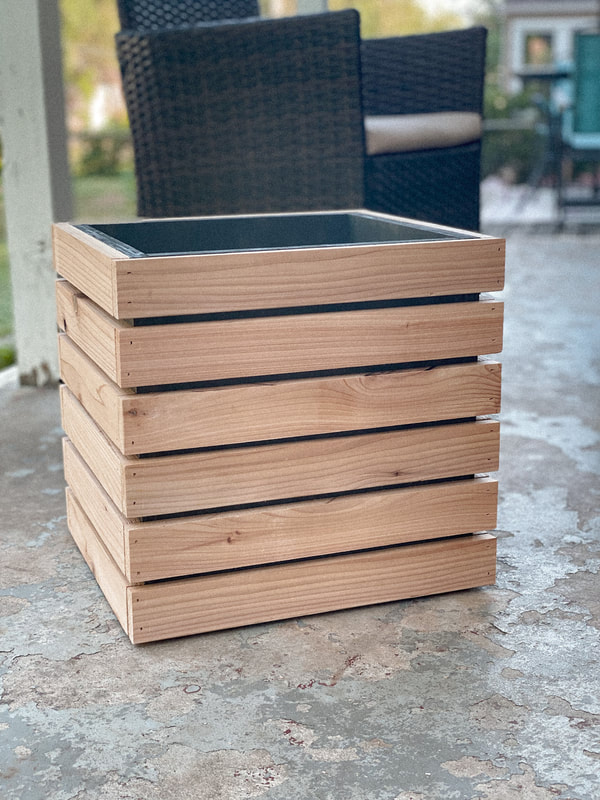
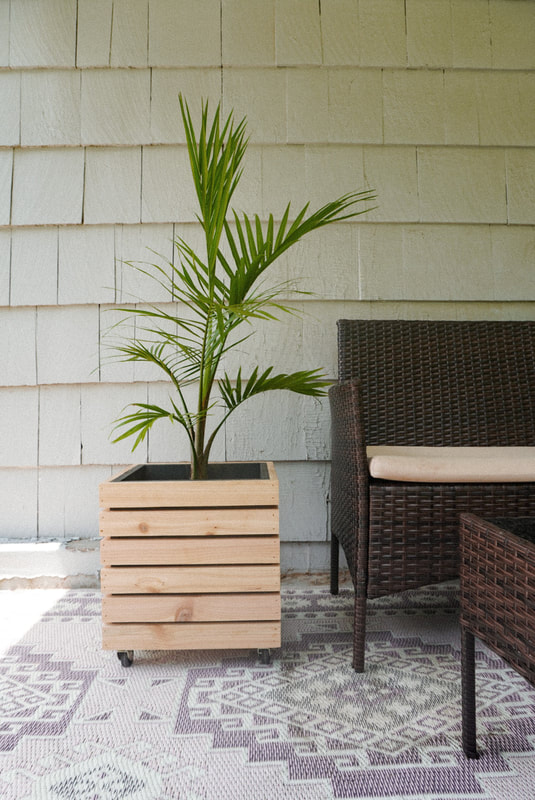
All in all this was a process but I'm excited to make more for my home.

Thanks babes!

- Loni
​@lacourdesignco.

2 Comments

Magnolia Table french silk pie

6/23/2020

0 Comments

 
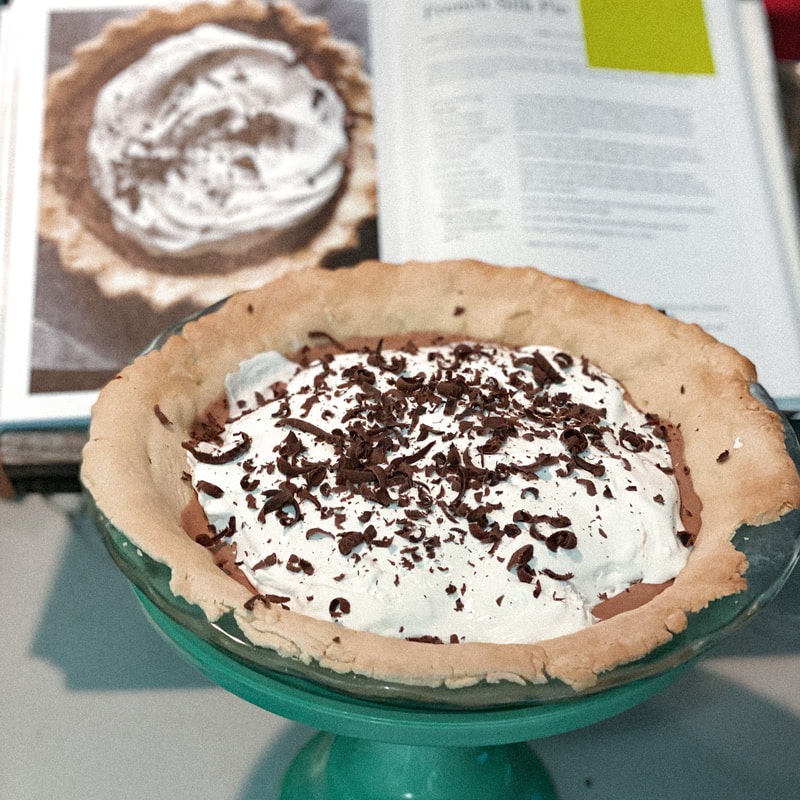
This is my first recipe from the Magnolia Table Vol. 2 cookbook by Joanna Gaines. It was honestly, pretty difficult to master. Especially for someone like me who isn't much of a baker. Below is the recipe, instructions, and details of my demise. 
Picture
Picture
I am not too proud to admit that this was my first time ever making french silk pie, and I made several mistakes. So if you're thinking about trying this recipe, I'm hoping you don't make the same errors I did.
Recipe:

2/3 cup granulated sugar
2 large eggs
2 ounces unsweetened chocolate, chopped
1 teaspoon pure vanilla extract
1/3 cup (2/3 stick) unsalted butter (room temperature)
2/3 cup heavy cream
1/4 cup powdered sugar
1 prebaked 9 -inch pie crust 
(or chocolate cookie crust, which I chose not to do this time)
Whipped cream 
Shaved dark chocolate

Picture
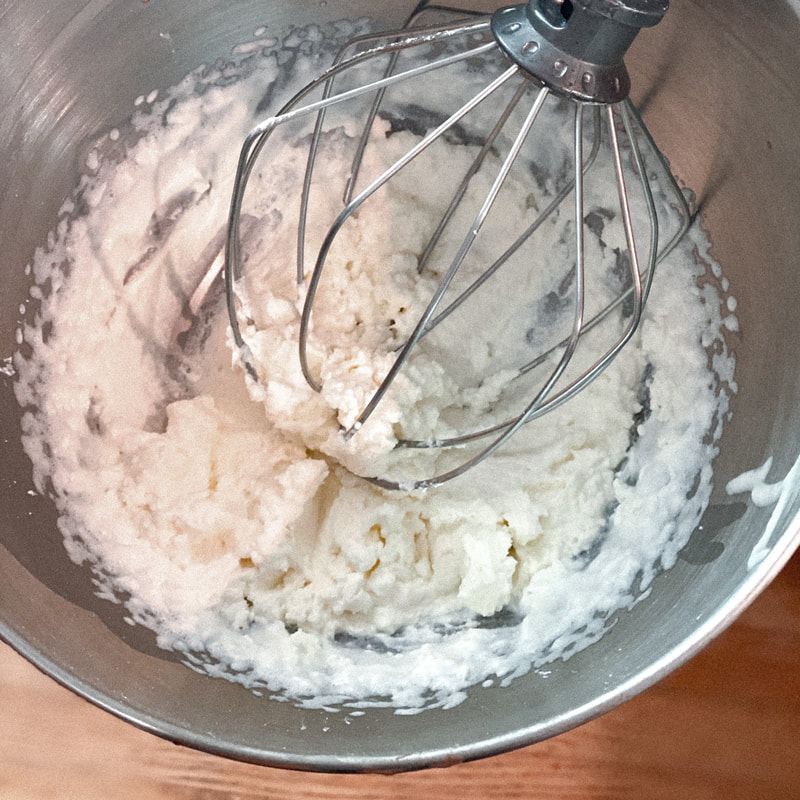
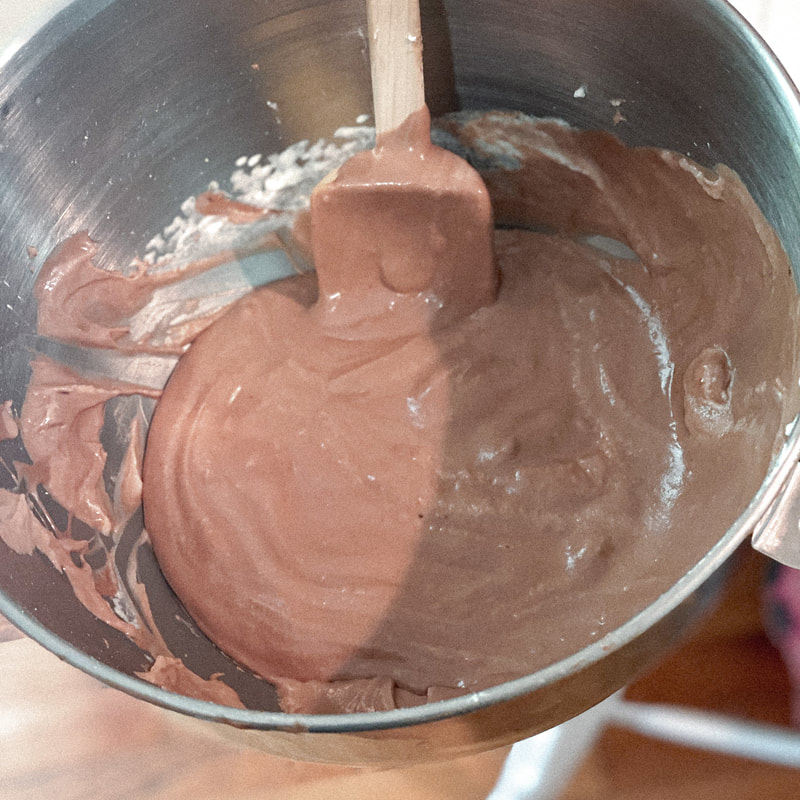
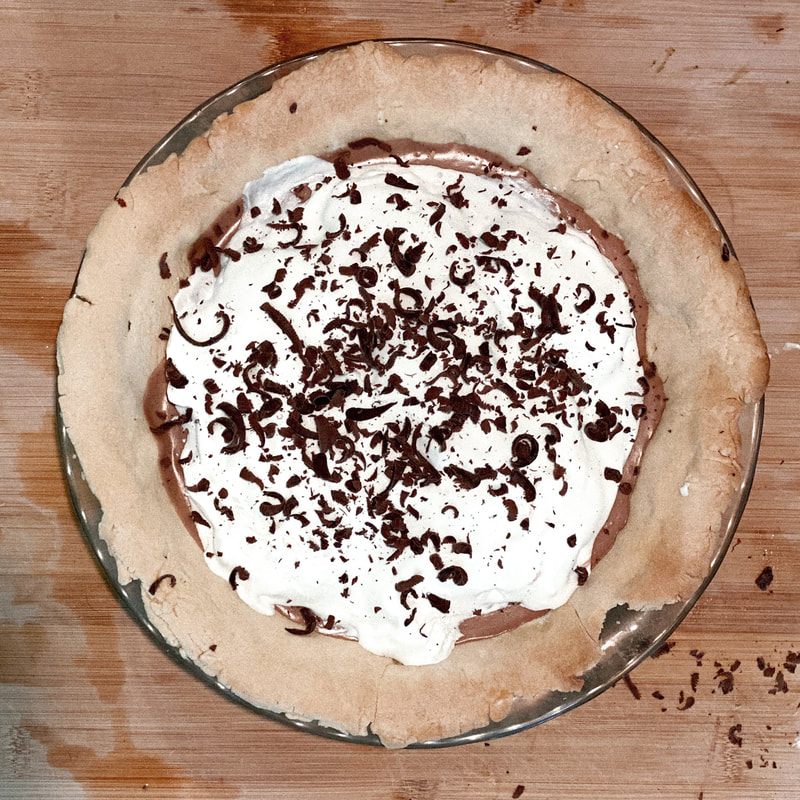
Instructions:
 
1. In a small saucepan, whisk together the granulated sugar and eggs until well blended. Cook over low heat, whisking constantly. until the mixture reaches 160°F and coats the back of a metal spoon. Remove from the heat. Add the chocolate and vanilla and stir until smooth. Set aside to cool for approximately 5 minutes.

2. In a stand mixer fitted with the paddle attachment, cream the butter on a medium-high speed until light and fluffy. Add the cooled chocolate mixture and beat on high speed until light and fluffy, about 5 minutes. 

3. In another large bowl, beat the cream on medium-high speed until it begins to thicken, 3 to 4 minutes. Add the powdered sugar and beat on low speed, then gradually return to medium-high until stiff peaks form. Fold into the chocolate mixture. 

4. Pour into prebaked piecrust. Refrigerate until well chilled, at least 4 hours or up to overnight.

5. Garnish with whipped cream and shaved chocolate, if desired.

6. ​Store, covered, in the refrigerator for 4-5 days. 
Picture
A couple things: I know you are supposed to whisk the mixture until it reaches 160F, I think I was having some temperature malfunctions and may have not reached that temperature with the mixture. 

I also later realized I did not whip the heavy whipping cream to a texture with stiffer peaks, as I should have. Thus, my pie in particular came out a little less set as I would have liked. It was still very delicious and was the perfect dessert for my Father's Day brunch. However, if you want the perfect pie I highly recommend doing exactly as the recipe says. Also, make your own homemade whip cream! I did not do that either for the sake of time, there are always room for improvement in any recipe.

Thanks babes
​-Loni
0 Comments
<<Previous
Powered by Create your own unique website with customizable templates.
  • In Loving Memory
    • Obituary
    • Contact Loni's Family
  • Gallery
  • Suicide Prevention
    • American Foundation for Suicide Prevention
    • National Institute of Mental Health
    • Suicide Prevention Lifeline 1-800-273-8255 >
      • Chat
    • Centers for Disease Control and Prevention
  • Home
    • About Loni's Business
    • Products Loni Made
  • Loni's Blog
  • Loni in the Media